
 En
En  Español
 中文简体
中文简体
Submit feedback
Industry News

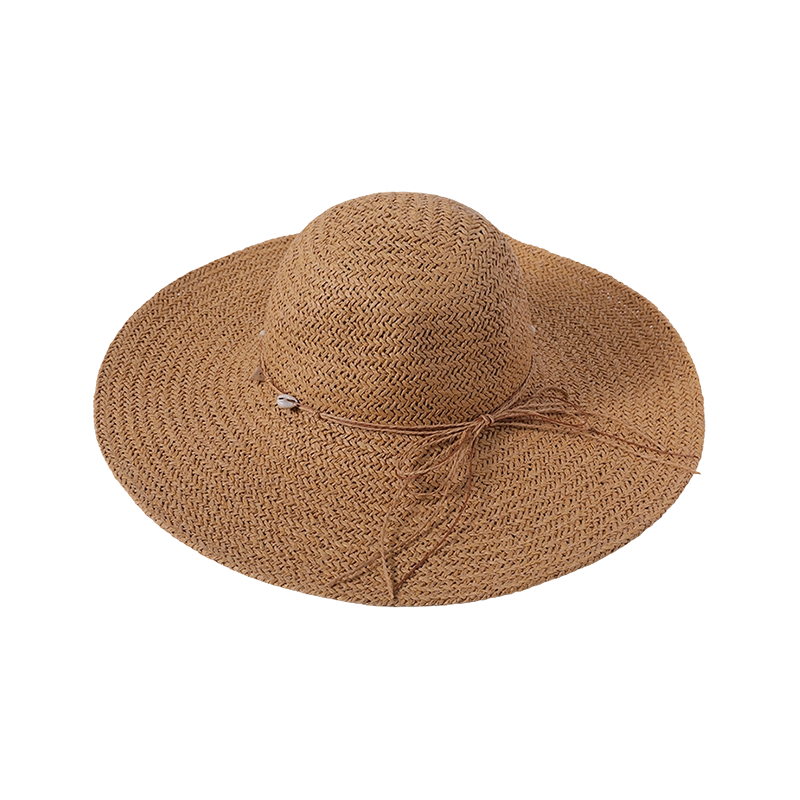
What Are the Sewing Techniques for Custom Handwoven Straw Hats?
 2026.01.16
 Industry News
The creation of a custom handwoven straw hat represents a convergence of natural material and human skill. While the weaving of the straw braid, or "sennit," forms the foundation, it is the sewing process that transforms these flexible lengths into a structured, durable, and functional piece. This sewing phase, often called "blocking and sewing," is a meticulous craft where technique dictates form, fit, and longevity. The process is not a single action but a sequence of interdependent steps, each requiring specific methods to ensure the final product meets its intended design. The following sections detail these techniques, divided into four distinct phases of construction.
I. Preparation of Materials and Foundation
Before sewing commences, careful preparation of both the straw braid and the workspace is necessary. This stage sets the conditions for consistent and secure construction.
Selection and Conditioning of Braid: The handwoven straw braid, typically made from materials like toquilla palm, wheat straw, or paper fiber, must be assessed for consistency in weave and width. The braid is often lightly moistened with a spray of water or held over steam to increase pliability. This conditioning prevents cracking or breaking during the tight turns and tension of sewing.
Establishing the Crown Center: Construction begins at the very top of the hat, the center of the crown. The braid is coiled upon itself in a tight, flat spiral. This initial coil is the anchor point for the entire hat.
Thread and Needle Choice: A strong, waxed linen or synthetic thread is traditionally used. The wax coating reduces friction, strengthens the thread, and helps it grip the straw. The needle is typically long, sharp, and sturdy enough to pierce multiple layers of braid without bending.
Setting the Stitch Pattern: The foundational stitch is a simple, overcast whipstitch. Each new coil of braid is sewn to the previous one, with stitches placed close together and at a consistent angle. The tension must be firm and even; too loose, and the hat becomes floppy; too tight, and it can pucker or distort the natural shape of the braid.
II. Forming the Crown Through Shaping Stitches
As the coiled braid grows outward from the center, the sewer must guide the flat spiral into a three-dimensional dome. This is achieved through subtle technical adjustments in the sewing process itself.
Controlling the Radius: To form a flat disc (which later becomes the top of the crown), the braid is sewn with each new coil lying directly adjacent to the previous one. To begin the downward curve of the crown sides, the sewer introduces a slight overlap of each new coil over the prior one, a technique called "causing the braid to draw in."
Strategic Stitch Placement: The angle and placement of the stitches aid in shaping. Taking the stitch slightly deeper into the inner edge of the new braid coil can encourage it to bend downward. Consistent measurement with a caliper or template is often used to ensure the crown's circumference increases at the precise rate required by the intended block shape.
Building Height: This process of coiled sewing continues, with the braid spiraling outward and gradually downward, building the walls of the crown to the desired depth. The sewer maintains a constant awareness of symmetry, ensuring the dome does not become lopsided by applying uneven tension.
III. Constructing the Brim with Structural Reinforcement
Transitioning from the vertical crown to the horizontal brim presents a distinct challenge. The brim must be rigid and flat, requiring reinforced sewing and sometimes internal support.
Creating the Break: The point where the crown ends and the brim begins is called the break or gutter. Here, the braid stops its downward spiral and is turned outward. This turn is secured with extra-close, reinforced stitches to establish a strong, defined pivot point.
Sewing for Planar Stability: To keep the brim flat, the braid coils are sewn edge-to-edge without overlap. However, the weight of a wide brim can cause it to sag. Techniques to counteract this include using a tighter stitch density and, in some methods, sewing two layers of braid together for the first few brim coils to create a stronger foundation.
Internal Support Structures: For wider or more rigid custom brims, sewers may incorporate hidden support elements. A thin, flexible wire can be sewn between the layers of braid at the brim's outer edge. Alternatively, a light framework of straw or cane may be sewn onto the underside of the brim base to act as a rib, providing lift and preventing droop.


Contact Us
-
Add:
Linchuan Industrial Zone, Songmen Town, Wenling City, Taizhou City, Zhejiang Province, China -
Phone:
+86-13906563499 -
Wechat:
+86-13906563499 -
Email:
Lois@zjkjcrafts.com
Send Us
an Inquiry
Copyright © Zhejiang Kaijia Craft Co., Ltd. All Rights Reserved.

OEM Handmade Crafts Manufacturer